Configuring the joystick button allocations
The terminal offers you the possibility of assigning the functions of an ISOBUS job computer to the buttons of the joystick. To do so, the ISOBUS job computer and the joystick must fulfil the Auxiliary 2 specification requirements from the ISOBUS standard.
Procedure
To activate the driver for this function:
- 2.
- Activate the value "Auxiliary2" in driver "Auxiliary 2".
Procedure
To configure the button assignment:
- þ
- The joystick and ISOBUS job computer are connected and support the "Auxiliary 2" protocol.
- þ
- You have activated the driver "Auxiliary2"
- ⇨
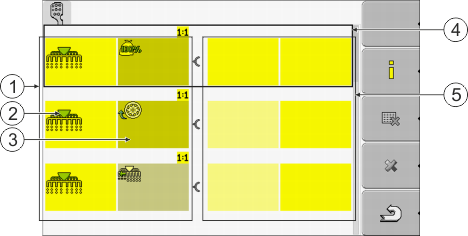
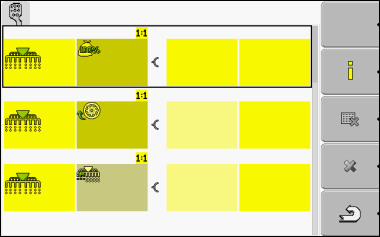
- The icons which appear here will be dependent on the software of the connected ISOBUS job computer. This is only an example.
- ⇨
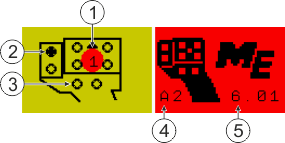
- The content of the screen will depend on the software of the connected joystick.
- 3.
- Select the button to which you want to assign the selected function. This is only an example.
- ⇨
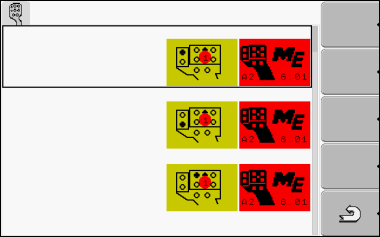
- After restarting, a screen with an overview of the assignments appears.
- ⇨
- If this screen does not appear, open the Service application.
- 6.
- Confirm the notification "Scroll to the end."
- 7.
- Scroll with the knob all the way to the bottom of the list.
- ⇨
- You have completed the assignments and can now operate the machine with the joystick.


 - Restart the terminal.


 - Select the function which you wish to assign to a button.
 - Exit the screen.